DIY solution to fix your keyboard problems: Quick solutions at your fingertips:
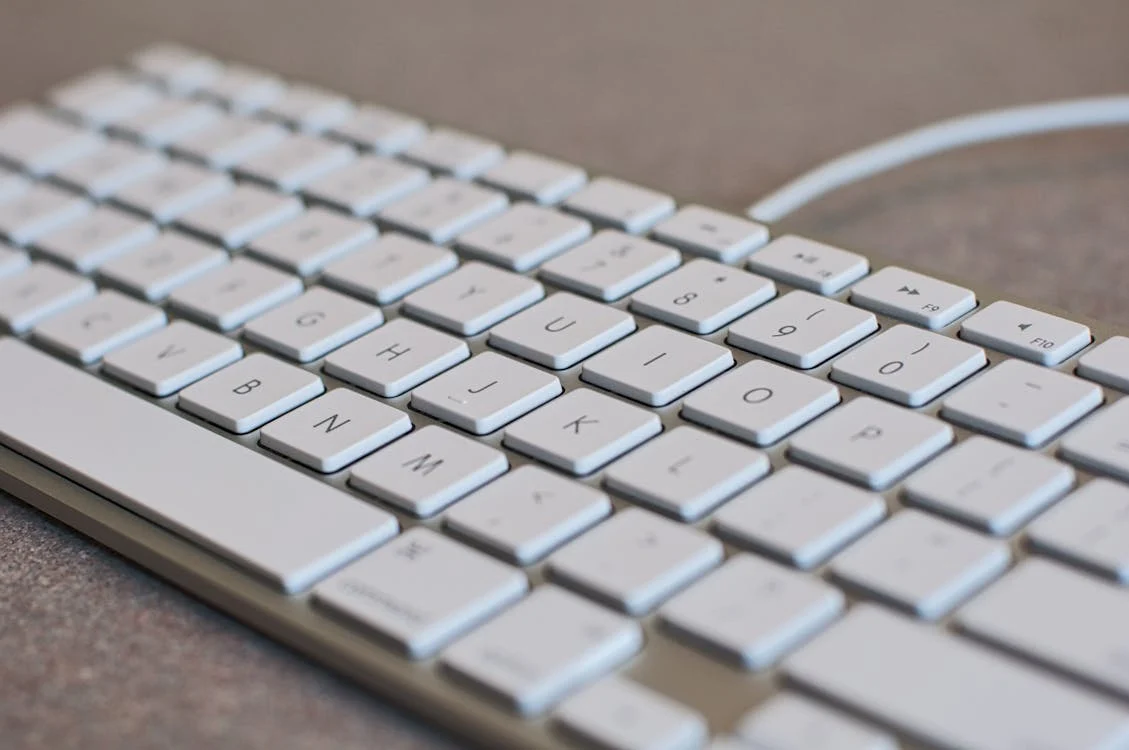
"White Computer Keyboard" by PixaBay, Source is licensed under CC0 1.0 Universal.

Troubleshoot and fix common keyboard problems with DIY solutions available at your fingertips. Whether using an Apple MacBook or a Windows laptop, these quick tips can save you from disruptions during crucial tasks.
Here are some easy steps to fix your keyboard
1. Restart your device
The most important and general rule of thumb before going for any solution is to restart your laptop or computer. You can shut down your device, wait for 4-5 seconds, and restart it. Restarting can flush out your computer's memory and restart all the drivers and programs.
2. Clean your keyboard
Many times, people assume that there might be some serious keyboard issue. Still, it's just due to dirt and debris piled beneath the laptop, leading to keyboard issues. Cleaning the keyboard can only help if there is an issue with a particular set of keys. Before going for some solutions, you can clean your keyboard with the help of a microfiber cloth and gently wipe the keys. You can also use an ethyl alcohol swab to remove the dirt between the keycaps. You can use compressed air for a more thorough cleaning. But it's less preferable as some dirt gets permanently piled up behind the keycaps.
3. Determine if there are any hardware issues
After trying some easy steps, if your keyboard is still not responding, check whether it's hardware or software issues. For testing hardware issues, you can check whether your keyboard works in a pre-boot environment. If you find that your keyboard is working well before Windows starts, this indicates your hardware is working fine. Now you can concentrate on software problems. For this, you need to follow the following simple steps:
a. First, click "start" and go to "settings."
b. In the settings search bar, type "Recovery Options."
c. Then, in the advanced "startup" section, select "Restart now."
d. After rebooting your computer, choose "options screen," then select "troubleshoot."
e. Further, choose the Advanced option on the Troubleshoot screen.
f. Then choose "command" or "prompt" on the "advanced option screen."
g. Test your keyboard when a command prompt opens.
4. Reinstall the keyboard driver
Sometimes, there could be a problem with the driver managing your keyboard, and it becomes more significant if it's third-party software or if you turn the machine off all the time while shutting down.
a. Click on the "start" menu and select Device Manager.
b. Now select "device manager" in the control panel and then click on expand the "keyboards" sections.
In this column, if there is a yellow exclamation point in any of the items, it suggests a problem. If you cannot see any exclamation point, select "uninstall driver." Then, further, reboot your device. It can fix the problem.
If nothing works, go to the laptop's manufacturer's support page and install the latest keyboard drivers. If keyboard drivers are unavailable, then you can go for USB drivers.
For MacBook users:
Uninstalling individual drivers is not available for MacBook users.
a. Click on system> general > software updates, and by doing so, you can install any updates.
b. Also, you can click on the power button for a few seconds.
5. Change Keyboard settings
Sometimes, some software settings can lead to dramatic keyboard behavior.
a. Click on the start menu and search for the keyboard in the search field. Further, click on the control panel entry to see the "keyboard properties" window and enter the "speed tab" there.
If you are facing a delay between pressing the key and the appearance of the key on your screen,
b. click on "settings," then go to "ease of access" and check whether "use filter keys" are turned on.
6. Change your keyboard layout
If suddenly different letters start appearing, then it's suggestive that your keyboard layout has changed accidentally.
a. Click on the menu, type "language, " then click the language you choose, and remove any keyboard layouts if you are not using them.
7. Remove Viruses
If any of the above solutions don't work for your keyboard, there could be a virus on your device. Run a malware scan using one of the best antivirus protection picks to sort this out.
8. Remove the battery if it's movable.
Many times, the battery becomes swollen, causing your laptop to malfunction. When the battery becomes swollen, it can push other parts, which leads to keyboard problems. If your device has a removable battery, then shut down your device. Check if your laptop works without installing a battery using only a power cord. If your keyboard works perfectly fine after removing the battery, then it's time to replace your keyboard battery.
9. Check Connections
Sometimes, keyboards lose connection with the motherboard and stop functioning. You can remove the outer case, reconnect the ribbon cable, or visit the manufacturer's site for further details.
10. Defective keyboard
Check if your keyboard is defective if any of the above solutions don't work. If your keyboard is still under warranty, you can replace it. Before returning your keyboard, you should back up your hard drive.
Keyboard issues are very frustrating at times, and DIY fixes are essential for the smooth functioning of your keyboard. Apart from all these fixes, you can opt for a wireless or USB keyboard.
Concluding our guide on DIY fixes for common keyboard problems, these quick solutions are at your fingertips. When dealing with keyboard issues, it's essential to determine if they're caused by hardware or software. To troubleshoot effectively, follow these simple tips. If you're having trouble with your keys, head to www.keyboardkeytest.com to check their functionality and quickly address any problems.


